 eMail
michael@TerminatorMallets.co.nz
eMail
michael@TerminatorMallets.co.nz
eMail
michael@TerminatorMallets.co.nz
Hoops & Lawns Home Pricelist Croquet Stuff FAQ
|
|
I sold the
Quadway
part in 2024.
|
Jarrod is a good guy and has been playing Croquet for 22 years and is a top player in AC AND GC.He has agents in the USA, Australia, and the UKHot link >>>>> www.Quadway.nz |
Get going with Terminator
lawn
accessories .... and FAQ further down... Video--->


Lawn accessory prices are in NZ$ Plus GST in NZ and Australia
| Crown Refurbish Kit | CK | $20 |
| Sabot | QS | $200 |
| Super Lifter "H" base | HS | $200 |
| Super Clamp "tool free" | HC | $200 |
| Lawn Drilling Template | QLD | 120 |
| Lawn Protector | QLP | 99 |
| Crown Refurb Kit Vinyl 6 piece | CK | 20 |
| Peg Refub Kit Vinyl 8 piece | PK | 38 |
| QuadSocket 3x Set of 6 inc peg | QSS3 | $1,020 |
| QuadSocket 2x Set of 6 inc peg | QSS2 | $880 |
| QuadSocket 1x Set of 6 inc peg | QSS1 | $740 |
| TigerHoops Set of 6 | THS | $785 |
| TigerHoop Single | THSH | $165 |
| TigerHoopPeg | THP | $35 |
Lawn accessory prices are in NZ$ Plus GST in NZ and Australia
 Crown
Refurbish Kit Crown
Refurbish Kit
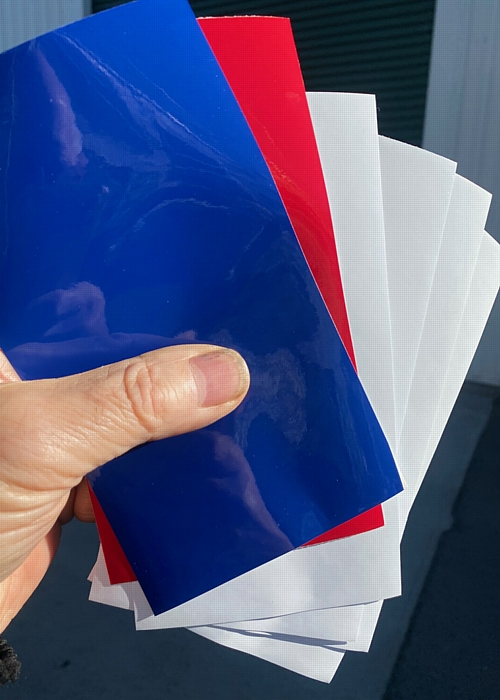
For when your hoops need a tidy up.. When the Rubber mallet has made the hoop colours a bit sad.. Or for when you just want to make the plain hoops show up better.
The kit has 6 pieces of coloured vinyl Blue, Red, and 4* White And instructions ...
|
 |
|
&
Improved
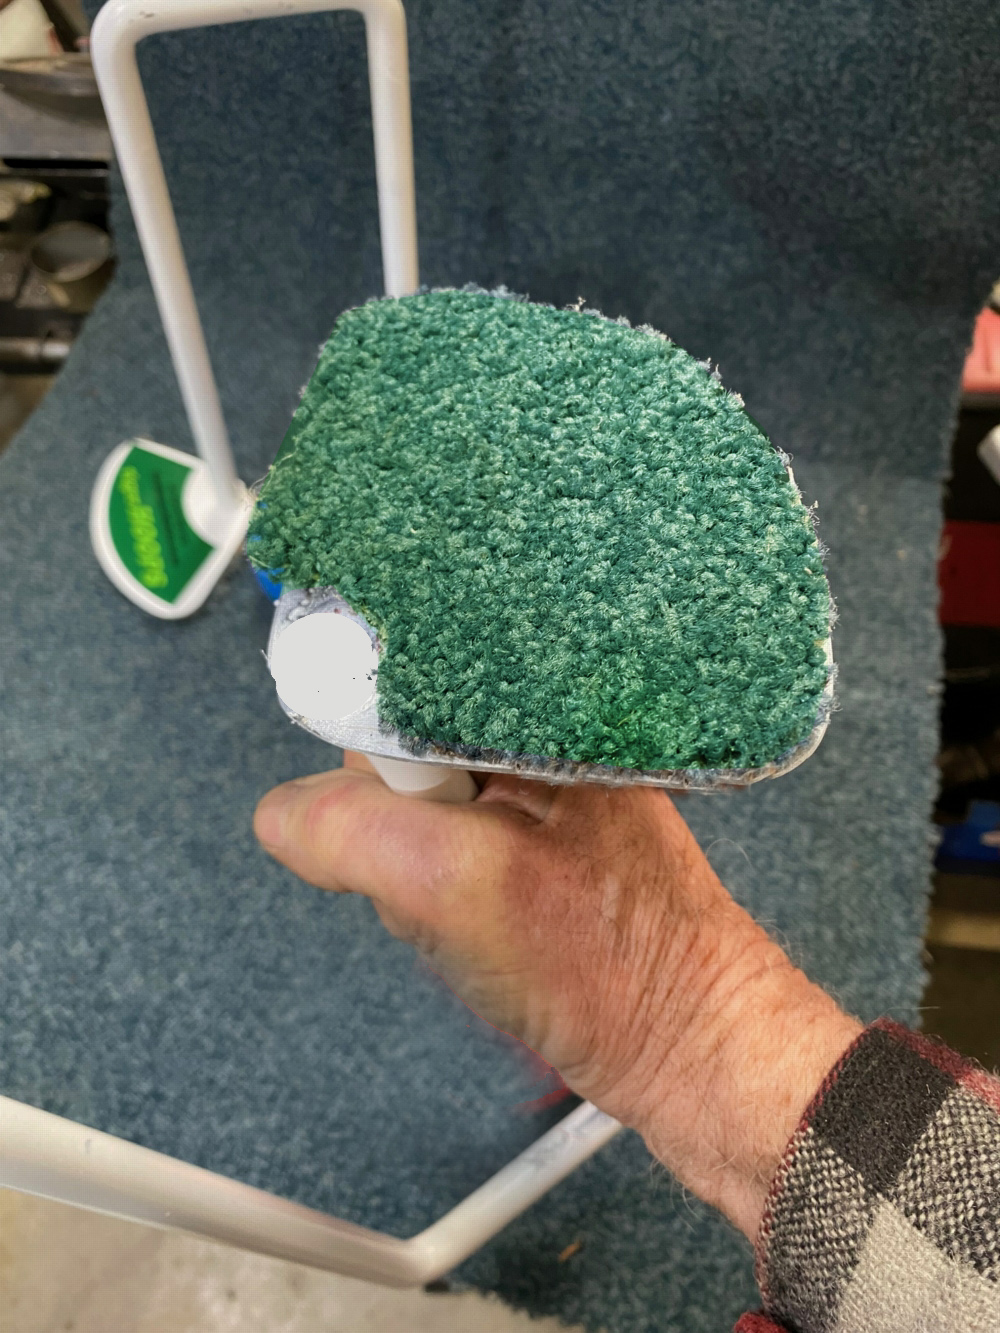
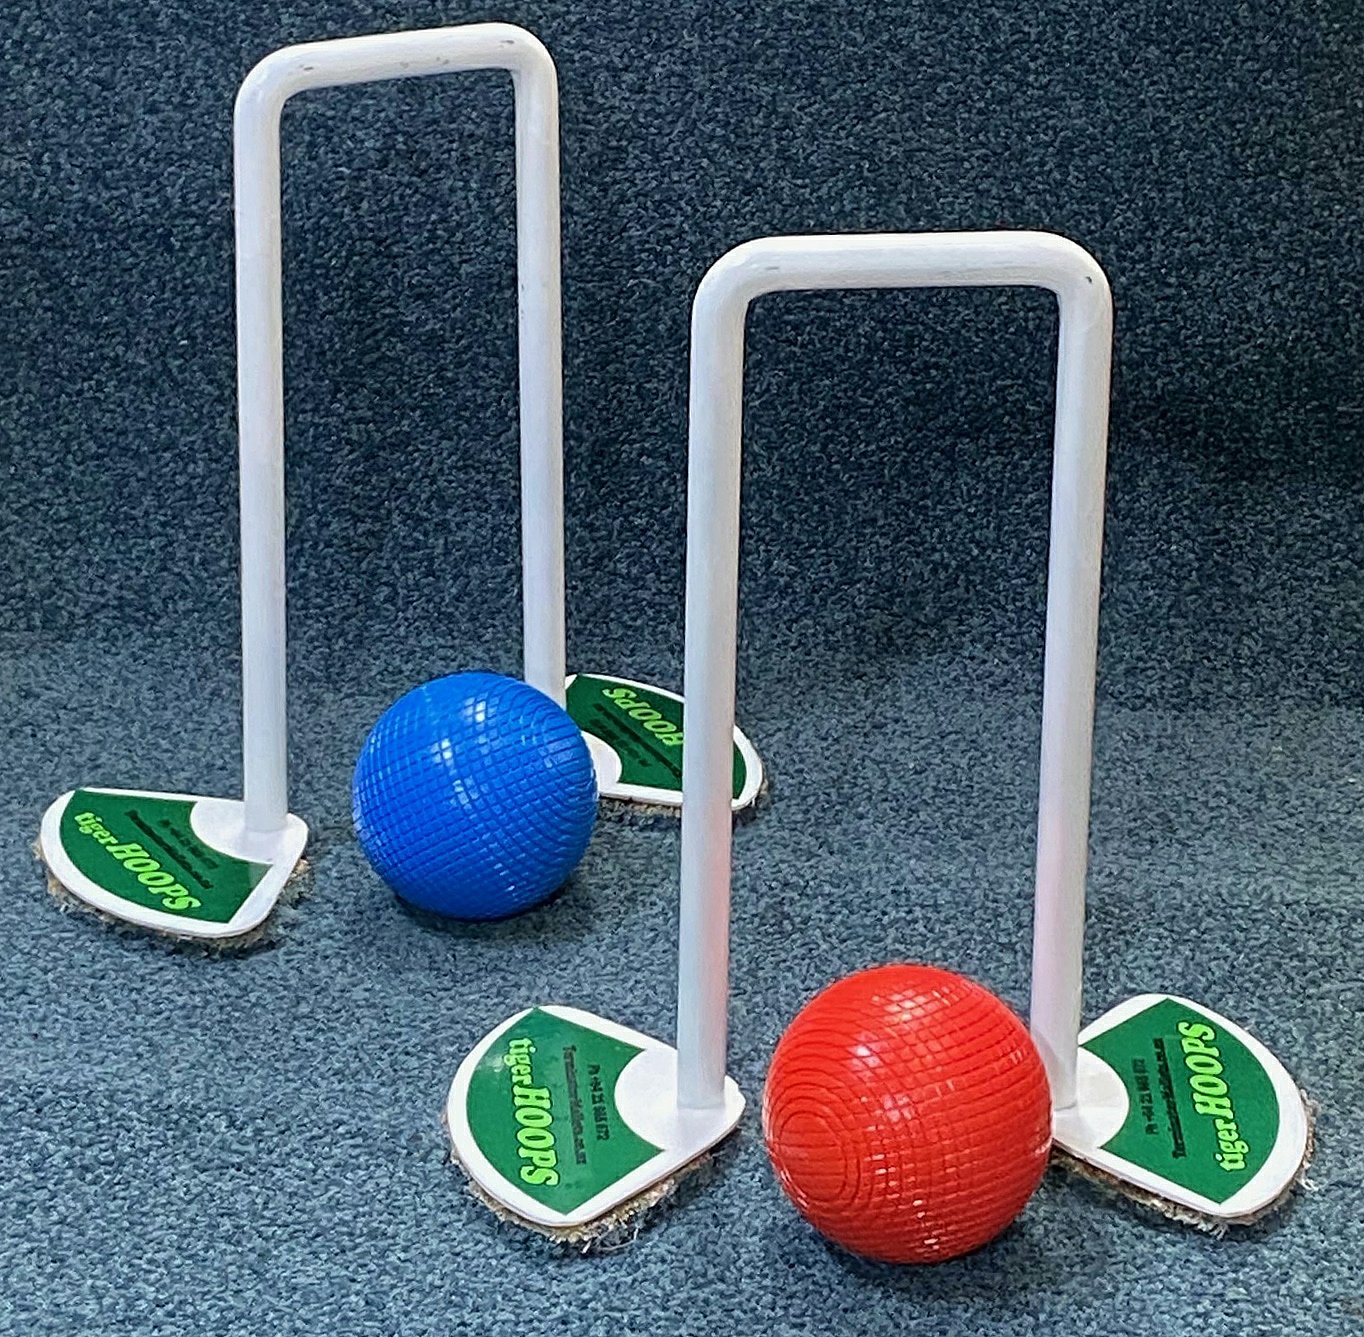
Tiger Hoops 1. Hoops that go on top of your permament turf (or lounge carpet). 2. Correct height, Correct 16mm cold-rolled steel 3. Feet that spread the load. 4. New "carpet" on the bottom so they don't slide around. (previously 2 little "spikes" 5. White powdercoat for easy seeing. (previously zinc finish that "turned out to be" harder to see.
|
  |
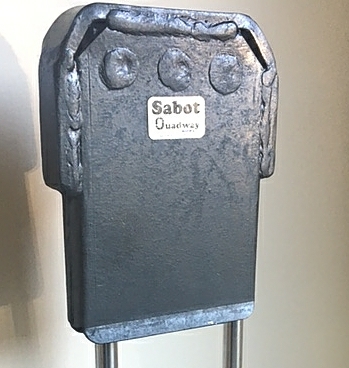
| Sabot (say
it the same as saboteur..... someone who threw the wooden shoe into the
machine) .. Do I need one? ... probably one for each lawn. The Quadways are precision made and they are strong BUT !!! What might not be clear are the potential issues..
Setting lawns for competition play.
12 minutes per lawn total time if you are organised... |
|
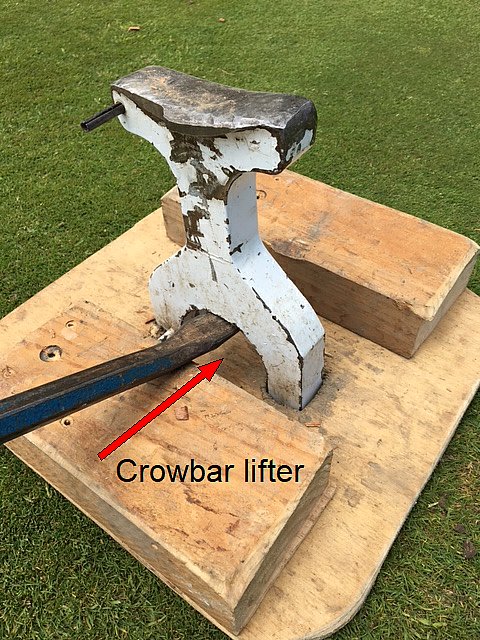
| Why make/use a plywood
Lawn Protector when making the dibber holes? When you lever the Dibber out with a crowbar, you will have something to lever off. " Give me a fulcrum..and a lever long enough.. and I can move the World". where have I heard that before ? Dibber spikes get massive friction in the ground.. When you lift without the Plywood Lawn Protector you will rip out the lawn
|
|
|
Can we swing the hoops ?
12 minutes per lawn total time if you are organised... |
|
|
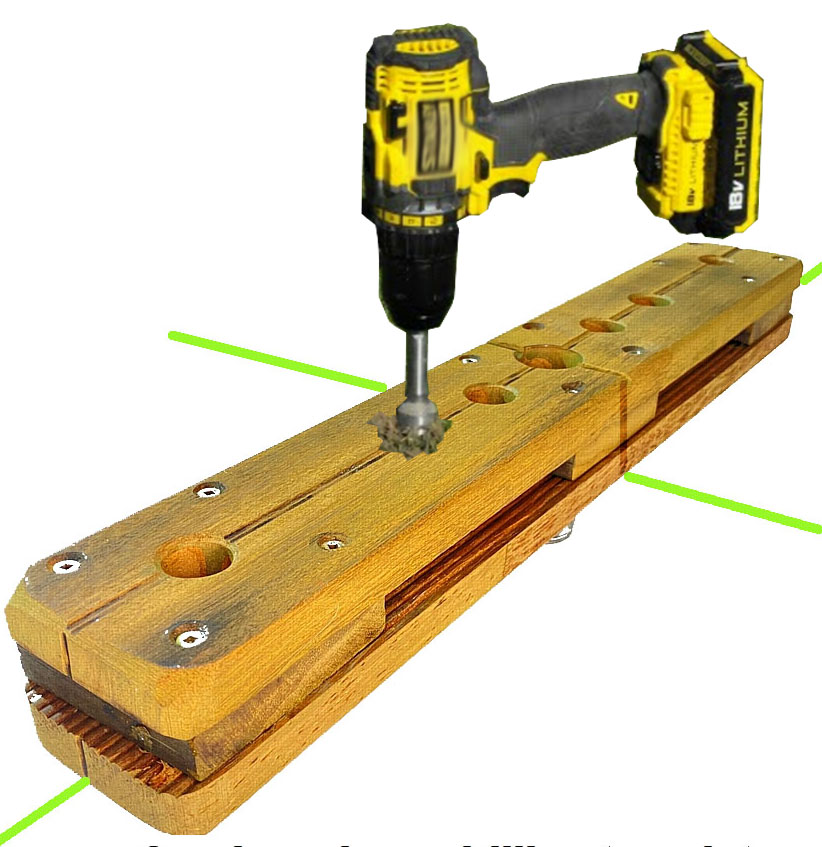
LawnDrillingTemplate
The center PeepHole lets you see the strings. Rock/roll the template and pull the string out of the way Drill the 6 holes For 3 sets of hoop positions . One set to use now... and a set each side... for later use.... EASY |
 |
|
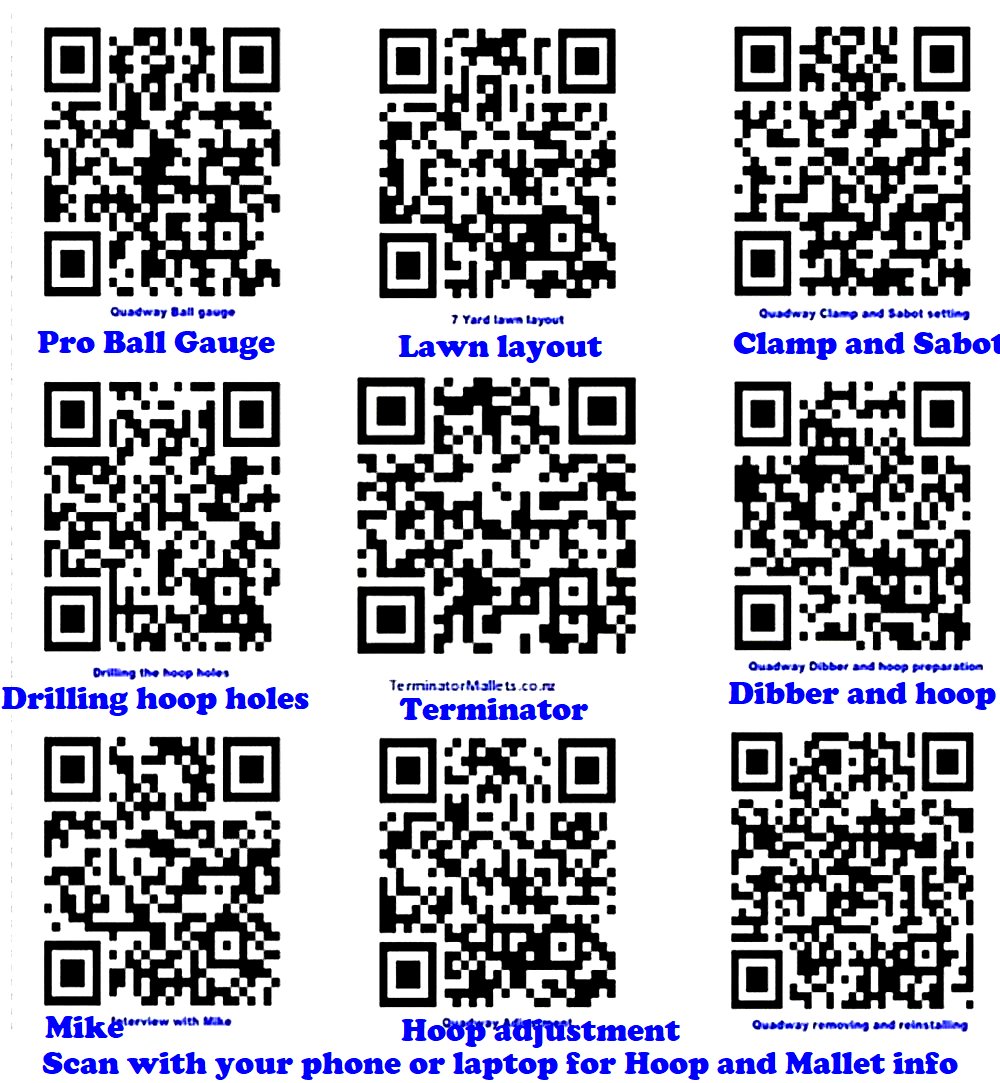
Videos .... for your phone or laptop
|
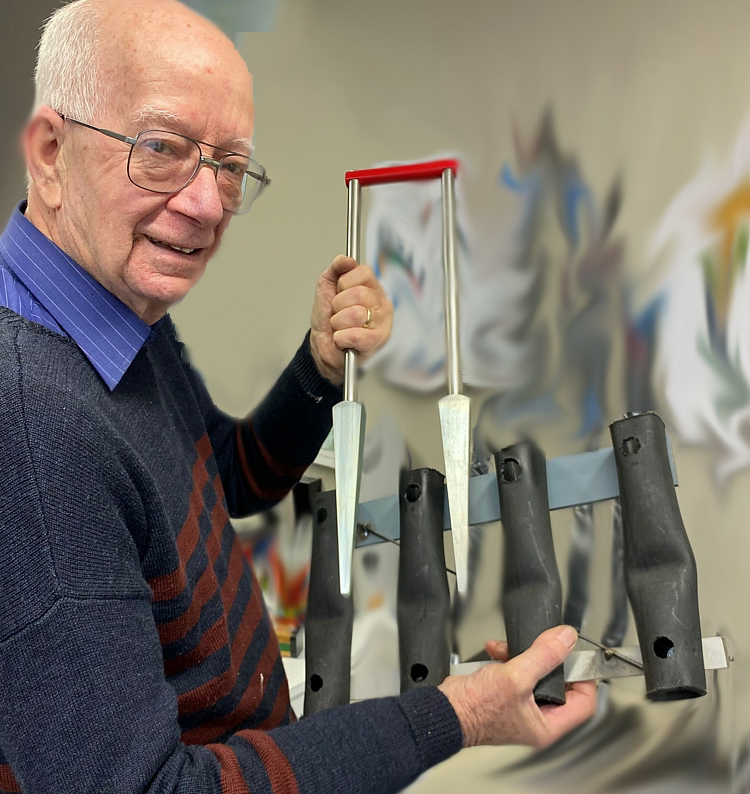
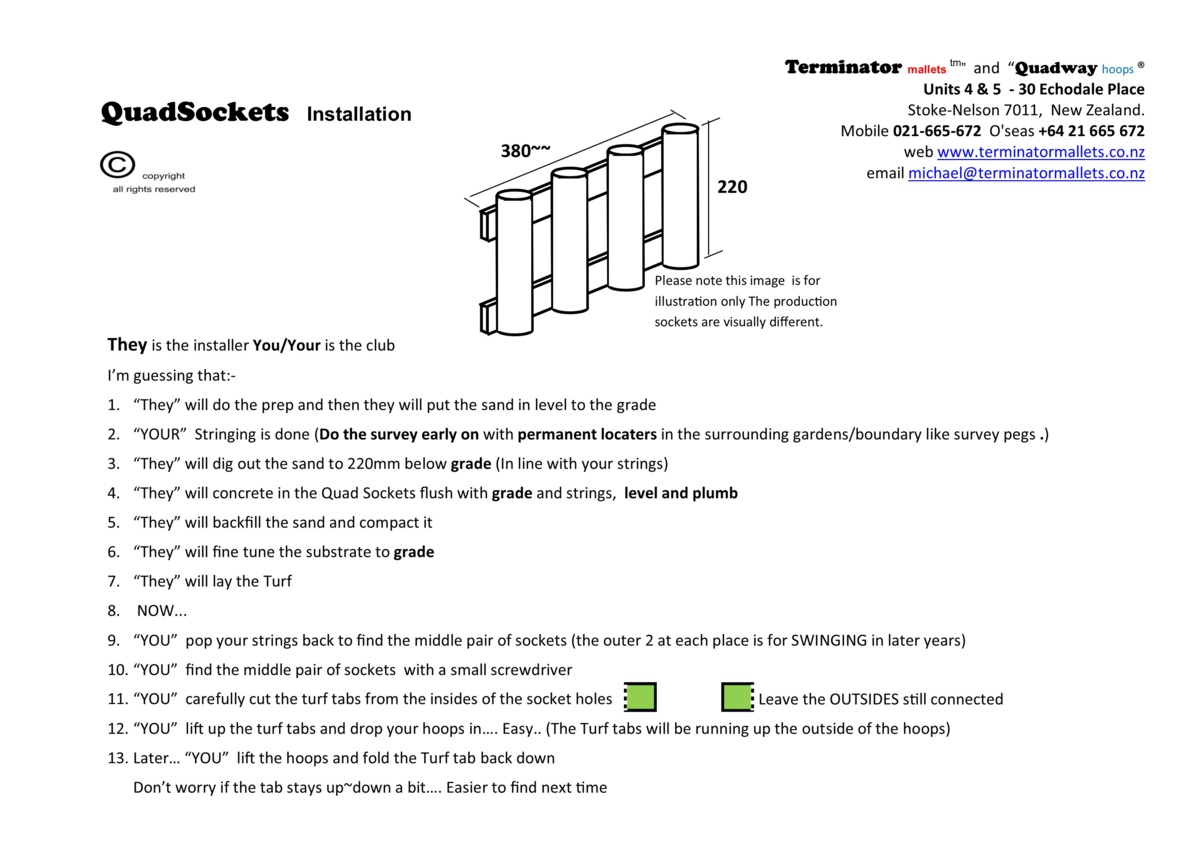
QuadSockets ...Permanent sockets for Permanent lawns AND Traditional lawns
This installation shows the 3x socket/s So... Start using the MIDDLE pair... Then use the LEFT pair... Then use the RIGHT pair.

 You will
need one set for each lawn
You will
need one set for each lawn